
In today’s world of inflation and the Trump tariff taxes times are rough. This is another in my series on how you can save money on groceries by simple actions.
I not exactly sure when I first had yogurt; possibly when I was in late grade school. I do remember it was the Dannon brand and that it had some syrupy fruit on the bottom that you mixed into the yogurt. I liked it.
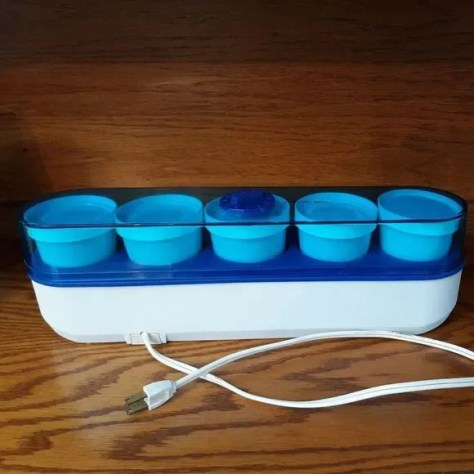
In the 1970s I was doing research on Multiple Sclerosis at the University of Chicago. A fellow researcher made her own yogurt and that intrigued me. I bought a Salton yogurt maker which made 5 cups of yogurt. I used that machine for quite some time, but I lost it in a divorce.
Yogurt is one of those foods that is better than the sum of its ingredients. It was likely discovered by accident and can be traced back to Middle Eastern civilizations as long as 10,000 years ago. That is way before the pyramids.
Yogurt can stay fresher longer than regular milk, is thicker and creamier, and is loaded with good bacteria that enhance gut health. Many people who are lactose intolerant can still eat yogurt.
Yogurt is extremely versatile and can be used in countless savory dishes. It can also serve as a substitute for other dairy products, such as sour cream.
The opposite end of savory is sweet, and yogurt shines there, too. Who doesn’t love frozen yogurt, and most yogurts sold in the store are flavored and sweetened, making them perfect for a snack or for a quick breakfast.
Yogurt consists of milk that has been inoculated with a specific bacterial culture, usually containing Lactobacillus bulgaricus and Streptococcus thermophilus. The milk is placed in a warm environment, and 6-8 hours later, you have yogurt.
I like both regular yogurt and Greek-style yogurt. What is the difference? Greek-style yogurt is regular yogurt that is strained through a sieve, allowing some of the whey (the liquid) to drain away. This makes the yogurt thicker and increases its protein content because it is more concentrated.
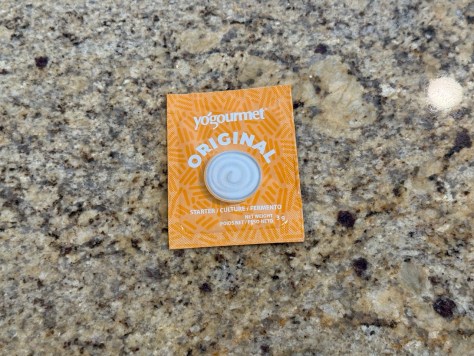
You can use a bit of unflavored active culture yogurt from the store as a starter or buy freeze dried starter. You can use any type of milk, but whole milk is preferred for the best results.
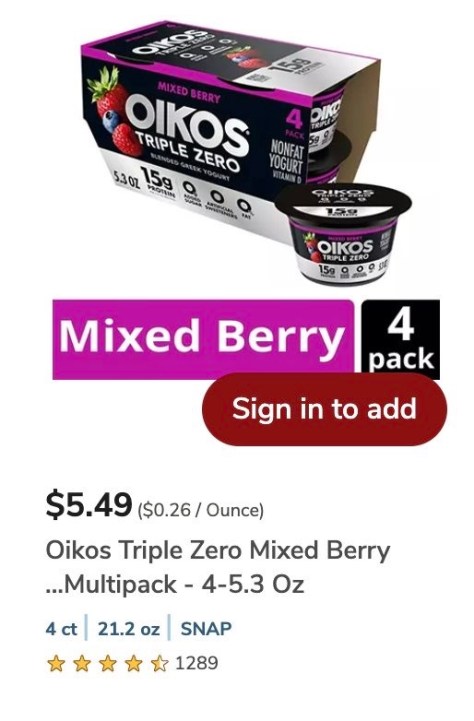
Making your own yogurt is not only simple, it will save you money. A four-pack of Oikos yogurt costs $5.79 as off this writing, which yields only 21 ounces total (4 x 5.3 oz).
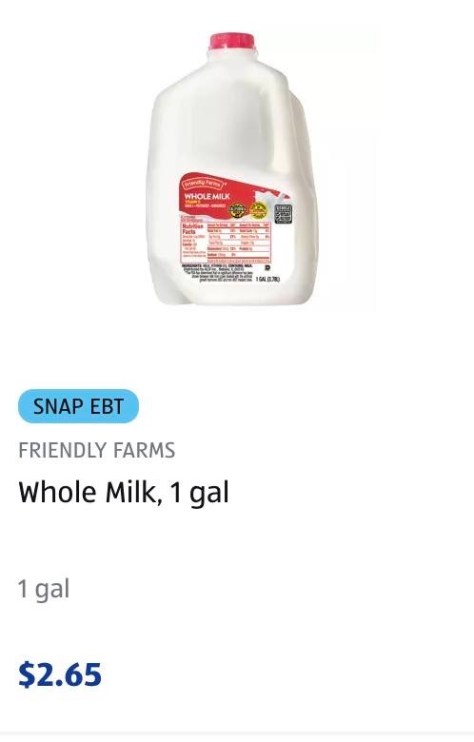
A gallon of whole milk can be had for as little as $2.65. This will make 128 ounces of regular yogurt or 64-96 ounces of Greek yogurt (depending on the thickness).
It is likely that you have all of the tools needed to make yogurt, but you can certainly up your yogurt making game with dedicated equipment if you wish.
These costs are for unflavored yogurt. There are dozens if not hundreds of ways to flavor yogurt, and none are terribly expensive. I’ll discuss some sweet options later in this post.
Here are the simple steps to make yogurt.
Ingredients:
Whole Milk
Starter Yogurt culture.
Starter yogurt can be a few spoonfuls of unflavored active culture yogurt from the store, a bit of your last batch of yogurt, or a dedicated commercial yogurt starter powder. Once you are making yogurt regularly you can simply reserve a few tablespoons of your current batch in the fridge to seed your next bath. In that case, the only cost, beyond a few pennies of electricity, is the cost of your milk.


Now it is time to incubate the milk to turn it into yogurt. This can be done in a variety of ways. You can placed your your container in a warm draft free spot and cover it with blanket or heavy towel. You can place it in a cooler in a bath of warm water, Both of these methods will require longer incubation times as the heat is not regulated.
Another common method is to use a slow cooker. Heat the milk to boiling then turn off the slow cooker. Wait until the milk is 110F and inoculate with around 1/4 cup of yogurt culture for a gallon of milk. Wrap the slow cooker in a heavy towel and let the mixture incubate for 8-12 hours. Give it a peak at 8 hours to see if it looks like yogurt. Too liquidy? Give it more time.
In general, the longer you incubate the thicker the yogurt. However, it will also be tangier (more sour) the longer you incubate.
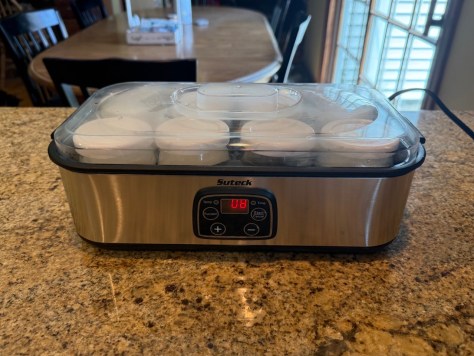
There are many appliances that allow the proper temperature for a controlled yogurt environment. Using one of these appliances will give you consistent results.


After your yogurt has incubated it is important to refrigerate it for at least several hours, preferably overnight. This enhances its favor and thickens the yogurt.


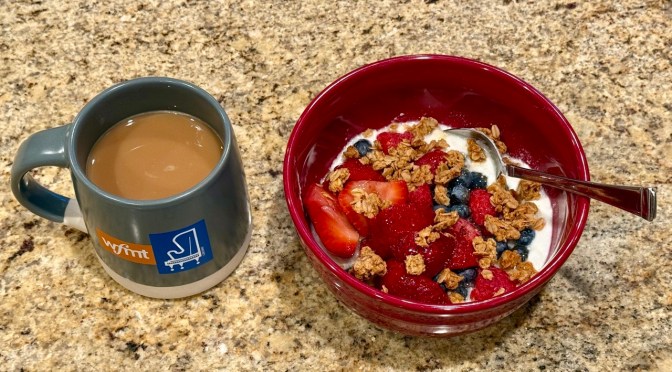
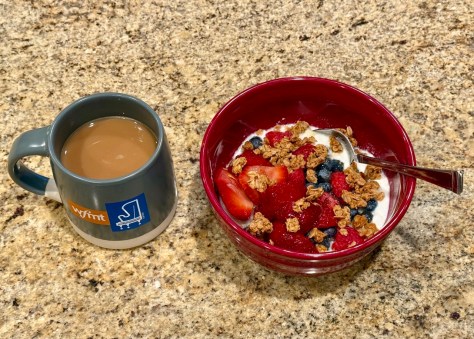
You can eat your cold yogurt as is, but I prefer adding sweeteners and other add-ons.
Sweeten with honey, or maple syrup, or brown sugar or whatever you like.
Adjust the flavor with a little vanilla or add fruit or granola. The options are limitless. I know of some who actually flavors their yogurt with Crystal Light.


Making yogurt is super easy and very satisfying. You know exactly what is in it, and you add exactly what you want. To use the example above, the Oikos yogurt is $0.26 an ounce vs. my standard yogurt make from milk at $0.02 an ounce. MY Greek-style homemade yogurt would be $0.03-$0.04 an ounce. The electricity is negligible.
Of course you will incur more cost with your add ons, but home much does a spoon of strawberry jelly or a drizzle of honey cost?
Making yogurt is very easy, inexpensive, and satisfying. The end result is chemical free and tastes fresher than store bought. Making your own yogurt vs. buying it is a no brainer.
Peace,
Mike